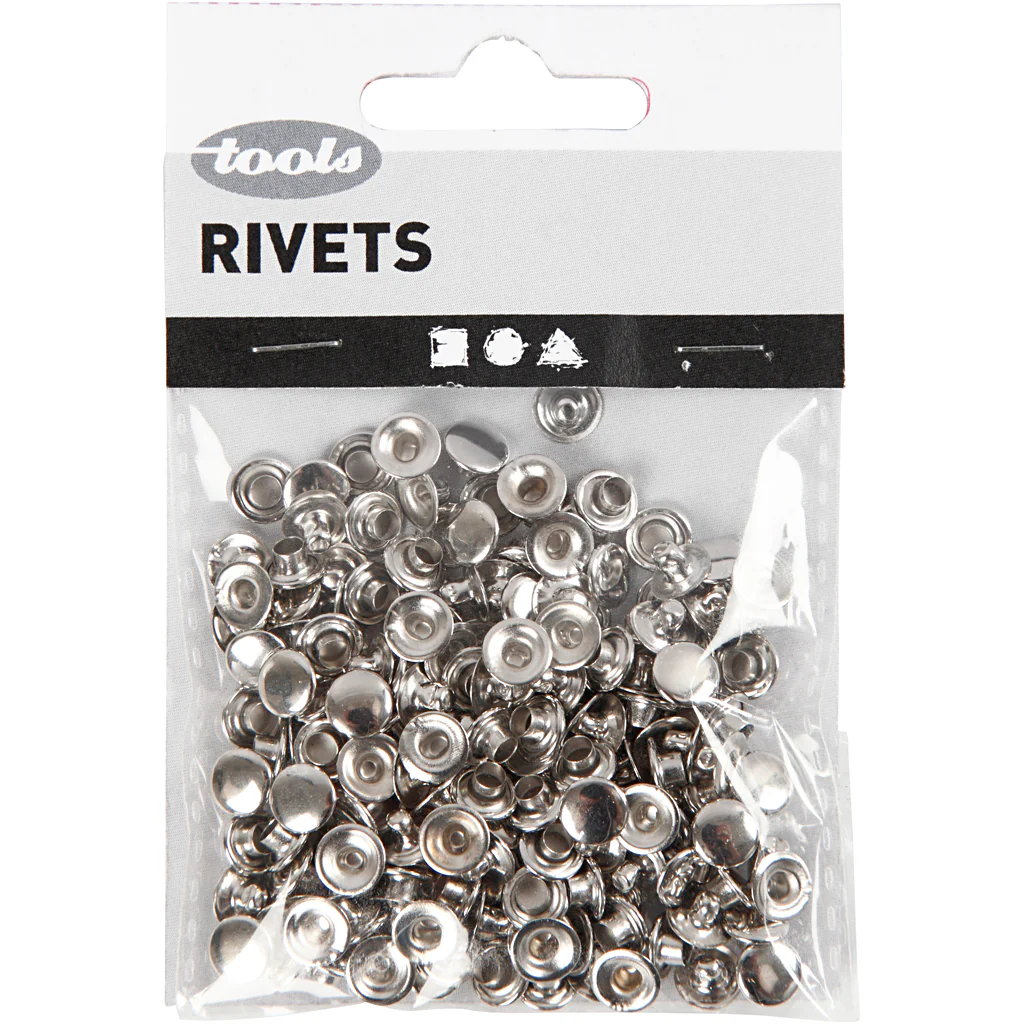
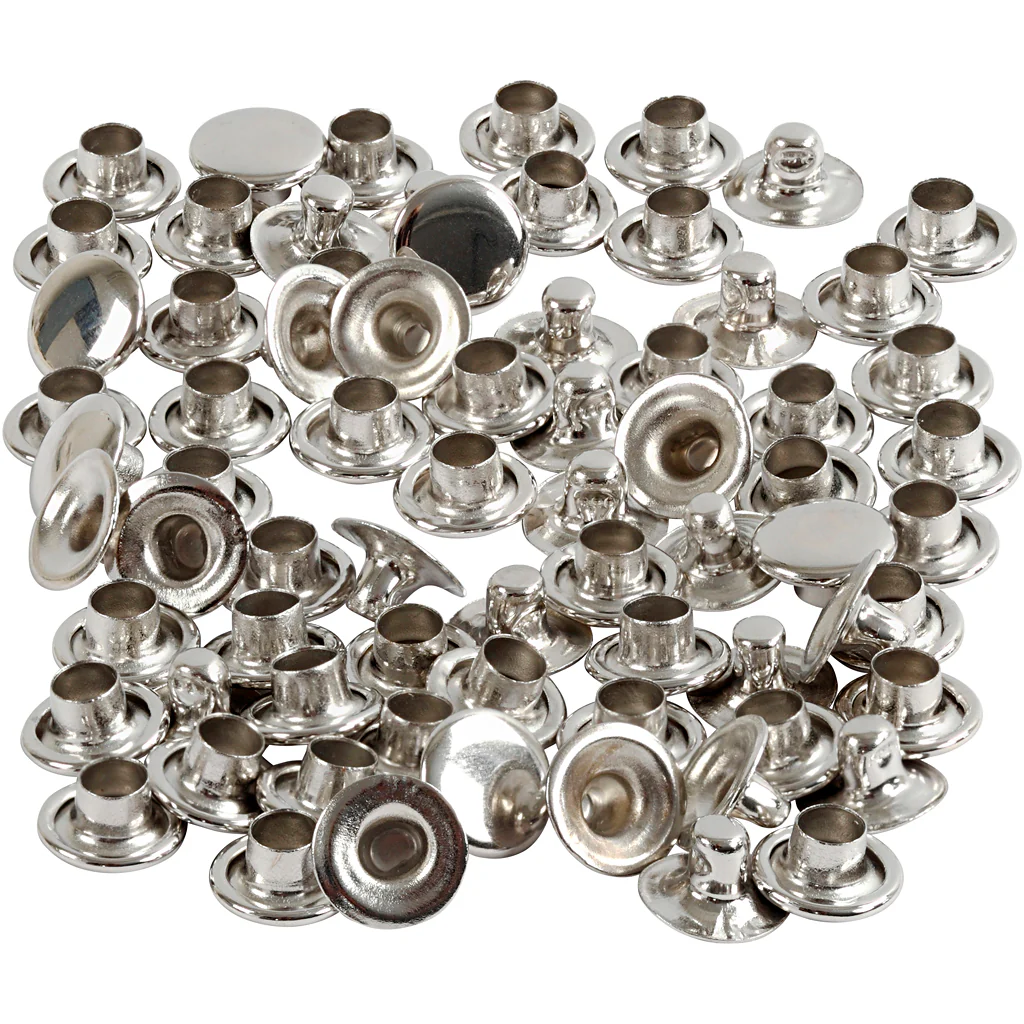
Rivets Dia. 7mm - Silver (50 Pieces)
Depending on the material to be decorated with or joined with the rivets a 1.5-2mm hole must first be punched with punch pliers where the rivets are to be inserted (except with knitted textiles). If several layers are to be joined together it is important that the combined layers have a maximum height of 2mm (equivalent of four layers of faux leather paper for example).
The riveting tool used to join the two rivet parts consists of a rivet setter and a metal rod. Place the rivet setter (with the curved side facing upwards) on a firm surface.
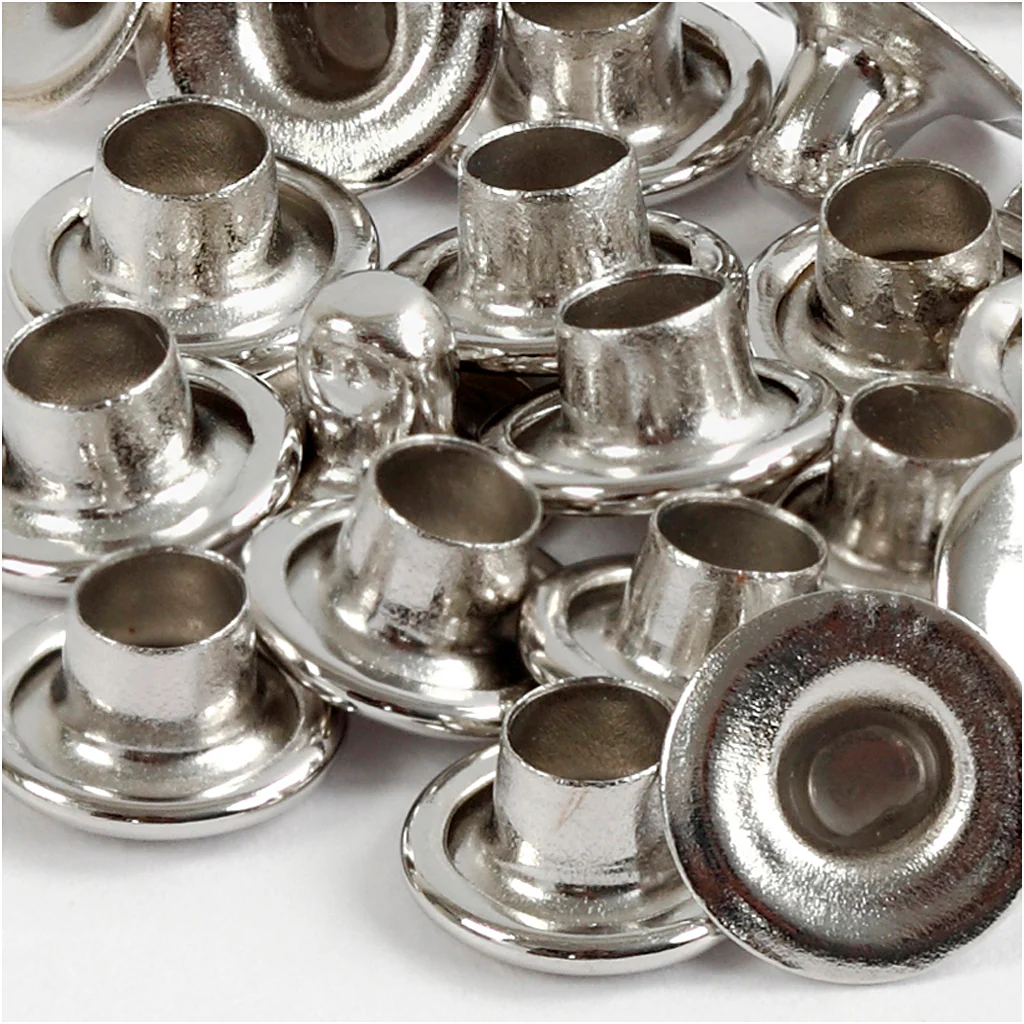
Place the flat rivet part with the flat side facing the curved rivet setter. Punch the rivet part with a stud through the punched holes/layers and then place the rivet stud in the hole of the flat rivet.
Use a hammer and the rod to secure the rivet. Make sure that the curved side of the rod is facing down towards the rivet for the best result.
It is also possible to assemble the rivets in the opposite direction i.e. by placing the rivet part with stud in the rivet setter of the tool and the flat rivet at the top.
Note: If the rivets do not join together the surface underneath is probably not completely stable. In this case try placing the rivet setter on a tabletop - Right above the table leg.
- Colour: of
Description
Depending on the material to be decorated with or joined with the rivets a 1.5-2mm hole must first be punched with punch pliers where the rivets are to be inserted (except with knitted textiles). If several layers are to be joined together it is important that the combined layers have a maximum height of 2mm (equivalent of four layers of faux leather paper for example).
The riveting tool used to join the two rivet parts consists of a rivet setter and a metal rod. Place the rivet setter (with the curved side facing upwards) on a firm surface.
Place the flat rivet part with the flat side facing the curved rivet setter. Punch the rivet part with a stud through the punched holes/layers and then place the rivet stud in the hole of the flat rivet.
Use a hammer and the rod to secure the rivet. Make sure that the curved side of the rod is facing down towards the rivet for the best result.
It is also possible to assemble the rivets in the opposite direction i.e. by placing the rivet part with stud in the rivet setter of the tool and the flat rivet at the top.
Note: If the rivets do not join together the surface underneath is probably not completely stable. In this case try placing the rivet setter on a tabletop - Right above the table leg.
- Colour: of